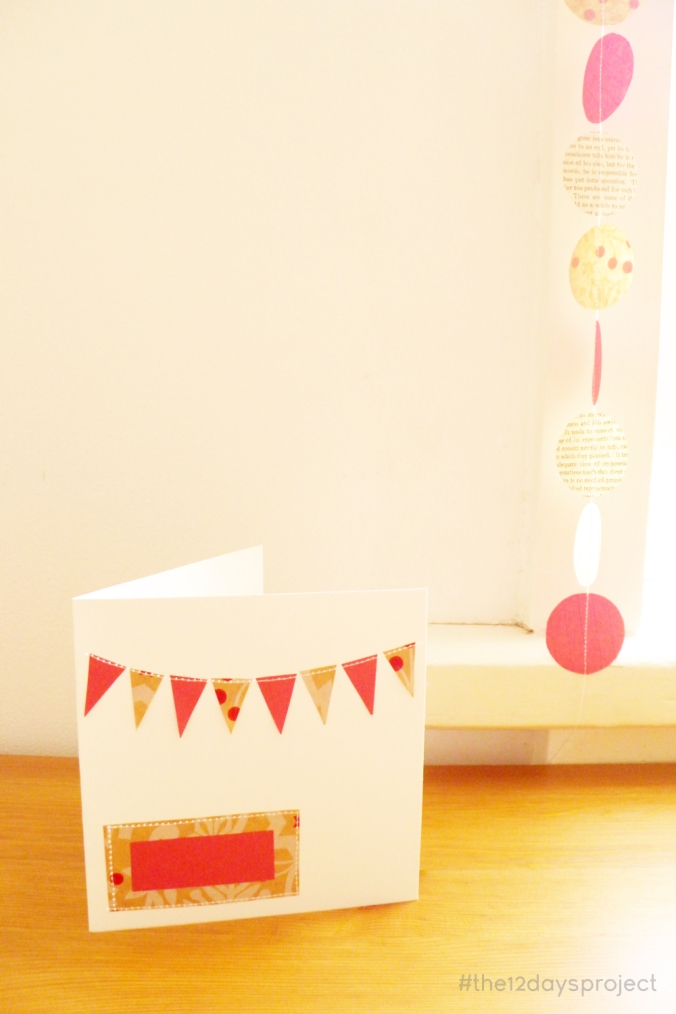
Alison loves using our sewing machine but, having taught herself the little she knows about sewing, sewing projects don’t get too complicated in our household. Sewing on paper is easy and beautiful, and therefore an absolute favourite thing to do when there is time to make things. Our birthday-card-stash is full of bunting cards and our house is covered with a ridiculous number of paper garlands – especially at Christmas.
Would you like to spend some of your Christmas time stocking up on handmade cards and decorations? Here’s how.
You Will Need
- Pretty paper
- Cardboard or a blank card
- A sewing machine threaded with a suitable colour thread
- Scissors and a glue stick
- A hand sewing needle
- A big hole punch or something round (like a small jar?) to trace circles with
- Greaseproof paper
Make The Bunting Card
Cut your cardboard into a card, or get your blank card ready to go.
Take two different kinds of paper and cut a strip from each measuring about 2 or 3cm by 10cm (all these measurements are guesses – this is not really a precision activity!). Cut each strip into long triangles, about 1.5cm wide. These will be your bunting flags! If you are actually into precision, you might like to measure your card and calculate how many flags you need for your card and get the ruler out and do it properly. No judgement against people who like precision!
Dab a little glue on the shortest side of each triangle, and position your flags on your card into a strip of bunting (see below). The tips of the flag should be glue free, so they can flutter! Keep the glue light. In the end it will be the stitching that holds the bunting together, the glue just temporarily keeps everything in place before we sew.
You might also like to stick on a rectangle or other shape on the front to write something on the front (‘Happy Birthday’? ‘Merry Christmas’? ‘Congratulations’?) when the time comes to give the card to a friend.
Time for the sewing machine!
Carefully sew along the tops of your bunting flags, and around the message box (see below). Keep the thread tails long after you finish stitching each line. When you have finished machine stitching, use your hand sewing needle to thread the tails to the back, tie them off and cut off excess thread.
Hooray – your card is done!
Make The Garland
Pull together a couple of complementary papers (we used some old Christmas wrapping paper, red notepaper and some pages from an old theology textbook we found in a second hand book sale). Cut the papers into circles. Precision is important in this one. Trace circles and cut them out carefully, or use a hole punch if you have access to one. This garland used 30 circles that were 4cm in diameter.
Sort the circles into the order you want them for the garland.
Cut or tear several strips of greaseproof paper at least 5cm wide. Starting with one strip of greaseproof paper, feed the whole length through the sewing machine on a simple straight stitch. At the end of the strip, add another one, and keep sewing for another half of a strip. Start placing circles on top of the greaseproof paper as you sew, leaving a stitch or two in between each circle and adding more and more strips of greaseproof paper as the base as needed (see below). When you run out of circles, keep sewing another length and a half of greaseproof paper.
You should have a long narrow strip of greaseproof paper with many circles stitched to it. Carefully tear the greaseproof paper away and you will be left with a beautiful garland. Knot and trim the ends of the string and you are done!
Decorate your house, or tuck your garland into a card and mail it to a friend.


